 |
|||
| Browse our users guide for easy, fast, self-guided support for using the TornadoEmail newsletter system. |
|
|
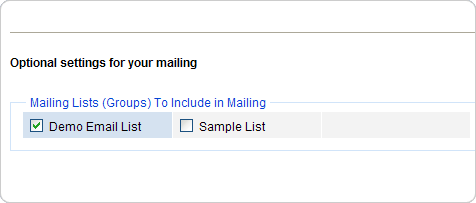
Sending a Message To send a message for your selected list, click on “Create New Message” under “Messages” on the menu at the top. You have the choice of three formats from which to send your mailing. It is recommended that you send using the HTML and Text combination. Most clients support this option.
Multi-Format (MIME), HTML and Text HTML Only Text Only
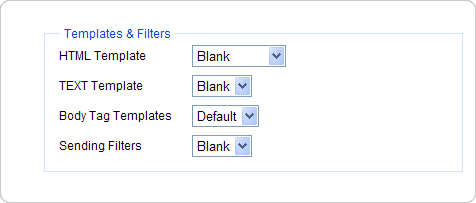
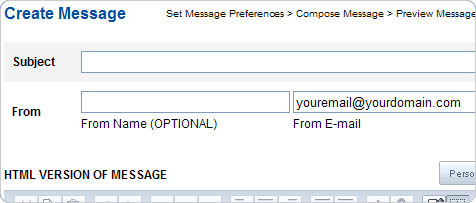
When available you can select a template to use with the creation of a message. Begin by Clicking on “Submit.” Enter the “Subject”, “From” and body content in the next screen. You have the option at the bottom to enter body tags to alter the background color / image and options designated to change the feel of your message. Do NOT add head tags or HTML open / close tags. Certain mail servers will not read e-mail with those tags.
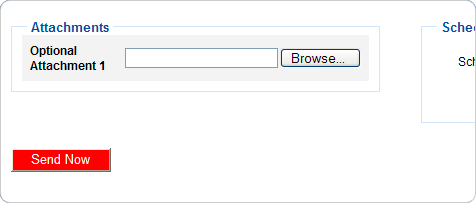
Click on “Preview Message” to view how your message should look. If you are ready to send click on “Send Now”.
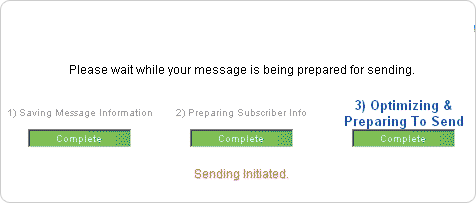
Click on “Message Queue” to see the message’s sending status. There is no need to keep your browser open or your computers on to have the sending continue.
|


